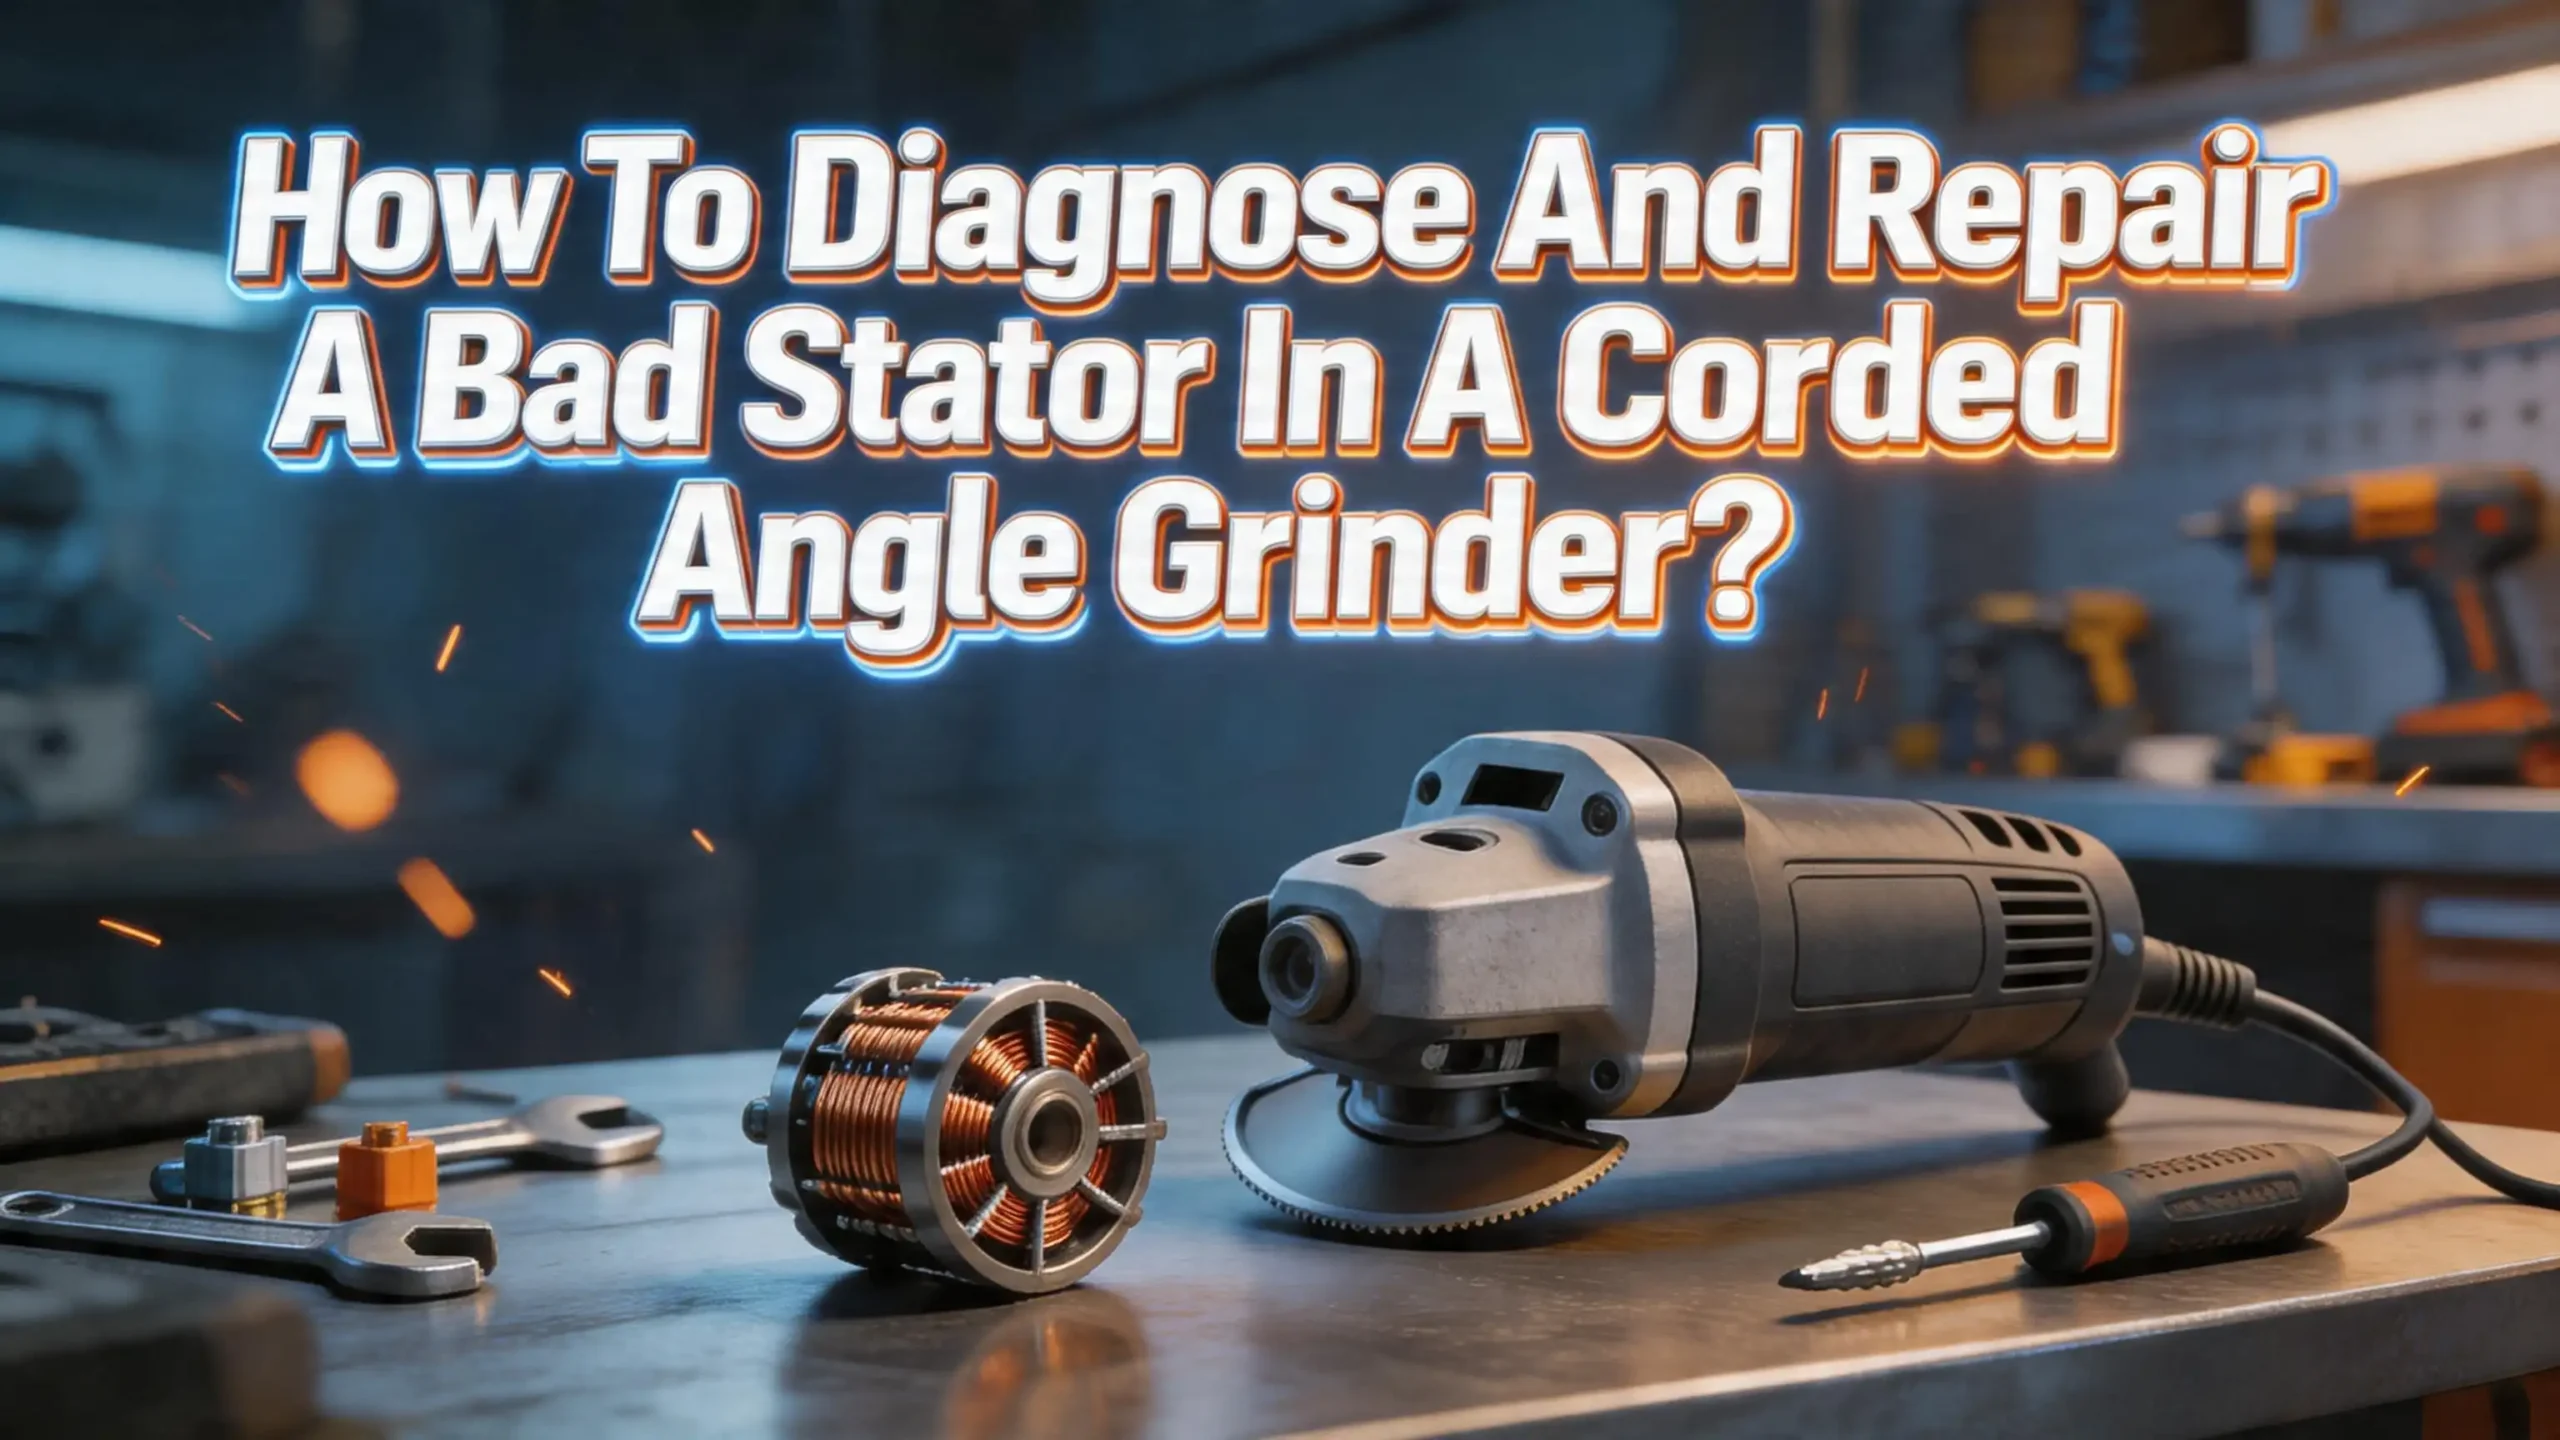
How To Diagnose And Repair A Bad Stator In A Corded Angle Grinder?
Your corded angle grinder suddenly smells like burnt plastic, runs slow, or refuses to start at all. You suspect the motor is shot, but the real culprit might be the stator, the stationary coil inside the motor housing.
A bad stator is one of the most common serious failures in corded angle grinders, and the good news is that you can diagnose it yourself with a few simple tools. Even better, you can often fix it without buying a brand new grinder.
This guide walks you through every step of identifying stator failure, testing it with a multimeter, and choosing the right repair path. Read on to learn exact symptoms, testing procedures, and repair methods that will get your angle grinder running again.
In A Nutshell
- A stator is the stationary winding inside your angle grinder’s motor. It creates the magnetic field that makes the armature (rotor) spin. When it fails, the entire tool stops working or performs poorly.
- The most common signs of a bad stator include a burning smell, weak or inconsistent power, excessive heat from the motor housing, and visible burn marks on the windings. If your grinder trips a breaker or shocks you, the stator could be leaking current to the frame.
- You can test a stator at home using a basic digital multimeter. Check for winding resistance, shorts between windings and the iron core, and open circuits. The whole process takes about 15 to 30 minutes.
- You have three main repair options: replace the stator with a new OEM part, have the stator professionally rewound, or rewind it yourself. Each option has different costs, skill requirements, and time commitments.
- Prevention is the best cure. Keeping your grinder clean, replacing carbon brushes on time, and avoiding prolonged overloading will extend the stator’s life significantly.
- For most home users, replacing the stator with a new OEM part is the fastest and most reliable solution. Professional rewinding makes sense for expensive industrial grinders, while DIY rewinding is best left to those with motor winding experience.
What Is A Stator And Why Does It Matter In An Angle Grinder
The stator is the stationary part of the electric motor inside your corded angle grinder. It consists of a laminated iron core wrapped with copper wire coils, often called field coils. These coils generate a magnetic field when electricity flows through them.
The armature (rotor) sits inside the stator and spins within this magnetic field. Together, the stator and rotor convert electrical energy into the rotational force that drives the grinding disc. Without a functioning stator, the motor cannot produce torque and the grinder becomes useless.
In most corded angle grinders, the stator has two coil sets wound around opposite poles of the iron core. This design is called a universal motor configuration, meaning it runs on standard household AC power. The stator windings carry the full line voltage, so any damage to the insulation can create dangerous short circuits.
The stator also produces significant heat during operation. Manufacturers coat the windings with special insulation varnish to protect against heat and moisture. Over time, this insulation can break down, especially if the grinder is used beyond its rated capacity. Once the insulation fails, the copper wires can short against each other or against the iron core, causing the stator to fail.
Understanding this component helps you diagnose problems accurately. Many users mistake stator failures for armature problems because the symptoms can overlap. Knowing the difference saves you from replacing the wrong part and wasting money.
Common Symptoms Of A Bad Stator In A Corded Angle Grinder
Recognizing stator failure early can prevent further damage to your grinder. Here are the specific warning signs you should watch for during use.
A strong burning smell is the most obvious symptom. Burnt insulation produces a sharp, acrid odor that is hard to miss. If you notice this smell during operation, stop the grinder immediately and unplug it. Continuing to run a grinder with burnt windings will cause more damage to the stator core and possibly the armature.
Reduced power or slow startup points to a stator with partially shorted windings. The grinder may spin up slowly or struggle under loads that previously caused no issues. This happens because shorted turns in the winding reduce the strength of the magnetic field.
Excessive heat from the motor housing is another strong indicator. While all angle grinders produce heat during extended use, a bad stator generates abnormal amounts of heat even during light tasks. The housing may become too hot to touch after just a few minutes of operation.
The grinder trips circuit breakers or blows fuses repeatedly. A shorted stator draws far more current than normal, which triggers overcurrent protection in your electrical panel. If this happens with a grinder that previously worked fine on the same circuit, the stator is a likely cause.
Visible smoke or sparks from inside the motor housing indicate severe damage. At this stage, the insulation has failed completely and the windings are arcing internally. Stop using the tool immediately, as this condition creates a fire hazard.
What Causes A Stator To Fail In An Angle Grinder
Understanding the root causes of stator failure helps you prevent it from happening again. Several factors contribute to stator damage, and most of them are avoidable with proper use.
Overloading is the number one cause of stator failure. Pressing the grinder too hard into the workpiece forces the motor to draw excessive current. This current generates extra heat in the stator windings. The insulation varnish on the copper wire has a thermal rating, and repeatedly exceeding this temperature breaks it down. Over time, the insulation cracks and the wires short circuit against each other.
Dust and debris accumulation is a close second. Angle grinders produce enormous amounts of fine particles during cutting and grinding. These particles enter the motor housing through the ventilation slots and settle on the stator windings. Metal dust is especially dangerous because it conducts electricity and can create short circuits between the windings and the iron core.
Worn carbon brushes can damage the stator indirectly. When brushes wear too short, they create excessive sparking on the commutator. This sparking generates electrical noise and voltage spikes that stress the stator windings. Regular brush replacement is one of the simplest ways to protect the stator.
Moisture exposure degrades insulation over time. Storing a grinder in a damp workshop or using it in wet conditions allows moisture to penetrate the winding insulation. This weakens the dielectric strength and eventually causes shorts.
Voltage surges and unstable power supplies can also damage stator windings. Using long, undersized extension cords causes voltage drops that force the motor to work harder and draw more current. This extra current heats the stator beyond its design limits.
Tools And Materials You Need For Stator Diagnosis
Before you start testing, gather these essential tools. Having everything ready makes the process smoother and prevents you from working on a partially disassembled grinder while searching for missing items.
A digital multimeter is the most critical tool. You need it to measure resistance (ohms) and check for continuity. Any basic multimeter with an ohms setting will work. Models with a low resistance range (200 ohms) give more precise readings for winding tests.
You will also need a set of screwdrivers matching your grinder’s fasteners. Most angle grinders use Phillips head screws, but some brands use Torx or hex bolts. Check your grinder before you start and make sure you have the right sizes.
A clean workspace is essential. Lay down a towel or mat to keep small screws and parts organized. Take photos of each disassembly step with your phone so you can reassemble everything in the correct order.
Safety gloves and safety glasses protect you during disassembly. The stator windings can have sharp edges from broken insulation, and metal fragments may be present inside a grinder that has been failing.
Keep a notepad or phone camera handy to record wire connections and multimeter readings. This documentation helps you compare your findings to manufacturer specifications and serves as a reference during reassembly.
A can of compressed air or a small brush helps clean dust from the motor components once exposed. Cleaning the parts before testing gives you more accurate results and prevents contaminating your multimeter probes.
How To Safely Disassemble Your Angle Grinder
Safety comes first. A corded angle grinder contains electrical components that store no residual charge once unplugged, but proper procedure still matters. Follow these steps to access the stator without damaging other components.
Unplug the grinder from the wall outlet. This seems obvious, but it is the single most important safety step. Never work on a plugged in power tool. Double check that the cord is disconnected before touching any internal parts.
Remove the grinding disc and the disc guard first. Use the spindle lock button and the spanner wrench to loosen the flange nut. Set the disc aside safely. Next, remove the gear head housing by loosening the screws that hold it to the motor body. This step varies by brand and model, so consult your owner’s manual if you are unsure.
Remove the rear housing cover or brush cap to access the carbon brushes. Pull the brushes out gently and set them aside. Note which brush goes in which holder, as some grinders have brushes that wear to fit a specific position.
Now remove the screws holding the two halves of the motor housing together. Carefully separate the housing halves. The armature (rotor) will typically slide out with one half. Be gentle because the armature bearings can be damaged by rough handling.
The stator will remain seated in one of the housing halves. It is usually held in place by the housing itself and sometimes by additional screws or clips. Take a photo of the wire connections before disconnecting anything. Label each wire if there are multiple connections.
With the stator exposed, you can now perform visual inspection and electrical testing.
Visual Inspection Of The Stator Windings
Before reaching for your multimeter, a careful visual inspection often reveals obvious damage that confirms stator failure. This step takes just a few minutes and can save you testing time.
Look at the winding coils closely. Healthy stator windings have a uniform color, usually a dark brown or amber tone from the insulation varnish. The wires should be neatly arranged without any bulging, sagging, or displacement.
Darkened or blackened areas on the windings are a clear sign of overheating. The burnt insulation changes color from amber to dark brown, then to black. If you see black spots, the insulation in that area has likely failed. Touch the darkened area gently with a toothpick. If the insulation crumbles or flakes off, the winding is damaged beyond simple cleaning.
Check for melted or fused wires. In severe cases, the heat from a short circuit melts the copper wire and fuses adjacent turns together. This creates a visible lump or blob on the winding surface. A stator with fused windings must be replaced or rewound.
Look for signs of moisture damage such as green corrosion on the copper or white powdery deposits on the iron core. Moisture damage weakens the insulation even if the windings look intact visually.
Inspect the lead wires that connect the stator to the brush holders and switch. Check for frayed insulation, loose connections, or burn marks at the solder joints. Sometimes the stator windings are fine but the lead wire connections have failed due to vibration or heat.
Smell the stator up close. A strong burnt odor confirms thermal damage to the insulation. Even if the windings look acceptable, a burnt smell suggests internal damage that may not be visible on the surface.
How To Test A Stator With A Multimeter
Electrical testing gives you definitive confirmation of stator failure. You will perform three separate tests: resistance measurement, ground fault test, and open circuit test. Each test checks for a different type of failure.
Test 1: Winding Resistance. Set your multimeter to the lowest ohms range (usually 200 ohms). Touch the probes to the two leads of the stator winding. A healthy stator in a typical corded angle grinder reads between 2 and 30 ohms, depending on the model and wattage. Write down the reading. If the stator has two separate windings, measure each one individually. Both windings should show very similar resistance values. A large difference between the two readings indicates a partial short in one winding.
Test 2: Ground Fault (Insulation Test). Keep the multimeter on the ohms setting. Place one probe on a stator lead wire and the other probe on the bare metal of the stator’s iron core (the laminated steel body). The reading should show OL (over limit) or infinite resistance. Any measurable resistance means current is leaking from the winding to the core. This is a ground fault, and it makes the tool dangerous to use. Even a reading of several megaohms can indicate insulation breakdown that will worsen over time.
Test 3: Open Circuit Test. If the multimeter shows OL (infinite resistance) between the stator lead wires, the winding has an open circuit. This means a wire has broken somewhere inside the coil. The motor will not run at all with an open winding. This type of failure requires rewinding or replacement.
Interpreting Results: If your stator passes all three tests but the grinder still malfunctions, the problem likely lies elsewhere. Check the armature, carbon brushes, switch, and power cord before concluding the stator is at fault.
Stator Replacement With An OEM Part
Replacing the stator with a factory original part is the most straightforward repair method. This approach works best for most home users and professionals who need a quick turnaround.
Start by identifying your grinder’s exact model number. You can find this on the nameplate label on the motor housing. Use this model number to search for the correct replacement stator. Manufacturer websites, authorized service centers, and power tool parts suppliers carry OEM stators for most popular brands.
Once you have the new stator, compare it side by side with the old one. Check that the physical dimensions, wire lead colors, and connector types match exactly. Even minor differences can cause problems. An incorrect stator can damage the armature or create dangerous electrical conditions.
Install the new stator into the motor housing in the same orientation as the original. Connect the lead wires to the same terminals, following the photos you took during disassembly. Make sure each connection is secure and that no bare wire is exposed.
Reassemble the grinder in reverse order of disassembly. Install the armature, replace the carbon brushes, and close the housing. Tighten all screws evenly to avoid pinching wires or misaligning components.
Pros of OEM stator replacement: Fast and simple. Guarantees correct specifications. Maintains original tool performance. No special skills beyond basic disassembly required. Most reliable long term solution.
Cons of OEM stator replacement: OEM parts can be expensive, sometimes costing 30 to 50 percent of a new grinder’s price. Parts may be difficult to find for older or discontinued models. Availability varies by brand and region, and shipping can add wait time.
Professional Stator Rewinding
If an OEM replacement stator is unavailable or too expensive, professional rewinding is a solid alternative. Motor repair shops can remove the old damaged windings and install new copper wire coils on the same iron core.
A qualified motor winder will first document the original winding specifications: the wire gauge, the number of turns per coil, and the winding pattern. They will strip the old windings from the core, clean the slots, install fresh insulation liners, and wind new copper wire to match the factory setup. After winding, they apply insulation varnish and bake the stator to cure it.
Professional rewinding restores the stator to like new condition and is often the preferred option for high quality industrial grinders where the tool itself is expensive. The rewound stator can perform as well as or even better than the original if done correctly.
To find a qualified motor repair shop, search for electric motor repair services in your area. Ask about their experience with small universal motors, as many shops focus on larger industrial motors. Get a quote before committing and compare it against the cost of an OEM stator and the cost of a new grinder.
Pros of professional rewinding: Can be cheaper than OEM replacement parts for some models. Preserves the original iron core, which reduces waste. Available even for discontinued models. Professional quality insulation and varnish application ensures durability.
Cons of professional rewinding: Takes longer than a direct swap, usually several days to a week. Quality depends entirely on the skill of the motor winder. Not every shop will accept small power tool stators. The cost may exceed the value of a budget angle grinder.
DIY Stator Rewinding Step By Step
For those with electrical knowledge and patience, rewinding a stator at home is possible. This is the most cost effective option but carries the highest risk of error. Only attempt this if you are comfortable working with fine copper wire and understand motor winding basics.
Step 1: Document the original winding. Before removing any wire, count the number of turns on each coil. Note the wire gauge using a wire gauge tool or caliper. Record the winding direction (clockwise or counterclockwise) and the connection pattern. Take detailed photos from multiple angles.
Step 2: Remove the old windings. Carefully cut and pull out the damaged copper wire. Use a heat gun on low to soften the insulation varnish and make removal easier. Clean the stator slots thoroughly with a brush and compressed air. Remove all old insulation material from the slots.
Step 3: Prepare the slots. Insert new insulation paper (slot liners) into each slot. This paper prevents the new winding from contacting the iron core. Use Nomex or polyester film rated for the temperature of your motor.
Step 4: Wind the new coils. Using magnet wire of the same gauge as the original, wind the correct number of turns into each slot. Maintain even tension and keep the wire neat. Follow the same winding direction and pattern as the original.
Step 5: Connect and insulate. Solder the lead wires to the coil ends. Apply insulation varnish to the completed winding by dipping or brushing. Allow the varnish to dry completely, or bake it in an oven at 250°F (120°C) for two to four hours.
Pros of DIY rewinding: Very low material cost, often under $10 for wire and insulation. Full control over the process. Great learning experience.
Cons of DIY rewinding: High risk of errors that can cause immediate failure or fire. Time intensive, often taking a full day. Requires specialized materials. An incorrectly wound stator can damage the armature.
Testing Your Repaired Angle Grinder Before Full Use
After replacing or rewinding the stator, do not immediately put the grinder to heavy work. A proper post repair test ensures everything is safe and functional before you depend on the tool.
First, perform the same multimeter tests you used during diagnosis. Check winding resistance and the ground fault test on the newly installed stator. Confirm the readings match the expected specifications for your grinder model. If anything seems off, disassemble and inspect your connections again.
Plug the grinder in and turn it on without a disc attached. Listen for the motor’s sound. A healthy grinder produces a smooth, consistent whine that rises to a steady pitch. Any grinding, rattling, or pulsating sounds indicate a problem. Watch for excessive sparking at the brush area, which should be minimal on a grinder with new or good brushes and a properly installed stator.
Let the grinder run unloaded for 30 to 60 seconds and then turn it off. Feel the motor housing for abnormal heat. It should be warm but not hot after such a short run. A stator that heats up quickly under no load has a winding fault.
Next, install a grinding disc and test under light load. Grind a piece of scrap metal for a minute and check again for heat, smell, and sound. Gradually increase the load over several short sessions. This break in period helps settle the new windings and reveals any marginal defects before they become dangerous.
Check the ground fault interrupter (GFI) if you work on a protected circuit. A stator with insulation problems will trip a GFI outlet almost immediately, giving you an extra layer of safety verification.
How To Prevent Stator Failure In The Future
Prevention is always cheaper and easier than repair. These practical habits will extend the life of your stator and reduce the chance of a repeat failure.
Avoid overloading the grinder. Let the tool’s speed and weight do the cutting. Pressing too hard forces the motor to draw excess current, which heats the stator. If the grinder slows down noticeably under load, you are pushing too hard. Back off and let the disc work at its own pace.
Replace carbon brushes on schedule. Most manufacturers recommend checking brushes every 60 to 100 hours of use. Worn brushes cause arcing that generates voltage spikes and stresses the stator insulation. Keep a spare set of brushes on hand so you can replace them as soon as they reach minimum length.
Clean your grinder regularly. After each use, blow out the ventilation slots with compressed air to remove dust and metal particles. Pay special attention to the motor area. Metal dust that accumulates on the stator creates conductive paths that cause short circuits over time.
Store your grinder in a dry location. Moisture is the silent enemy of stator insulation. A dry toolbox or cabinet protects the windings from humidity. If your workshop is damp, consider using silica gel packets in your tool storage area.
Use the correct extension cord. A cord that is too long or too thin causes voltage drops. The motor compensates by drawing more current, which overheats the stator. For a standard angle grinder drawing 10 to 15 amps, use a 12 gauge cord for runs up to 50 feet and a 10 gauge cord for longer distances.
Allow cooling breaks during extended use. Run the grinder for 10 to 15 minutes, then let it cool for five minutes. This cycle prevents heat buildup that degrades insulation.
Stator Problems Versus Armature Problems: How To Tell The Difference
Stator and armature failures share several symptoms, which makes misdiagnosis common. Knowing the key differences between these two failures saves you from replacing the wrong part.
Sparking pattern is a strong clue. Armature problems cause heavy, uneven sparking at the commutator that is visible through the brush access ports. Stator problems typically cause less visible sparking but more heat and smell from the motor housing. If you see bright orange sparks shooting out from the brush area, check the armature first.
The multimeter tells the full story. Test both components during diagnosis. A bad armature shows unequal resistance between commutator segments or a ground fault from the commutator to the shaft. A bad stator shows abnormal winding resistance or a ground fault from the winding to the core. Testing both components takes only a few extra minutes and gives you a complete picture.
Speed behavior differs between the two failures. A grinder with a bad stator often runs slower than normal at all times. A grinder with a bad armature may run at normal speed but surge, stutter, or suddenly lose power under load. This difference is subtle but noticeable if you pay attention during use.
Physical inspection helps too. Armature damage often shows on the commutator surface as pitting, scoring, or burnt segments. Stator damage shows on the winding coils as discoloration, swelling, or melted insulation. Check both components visually before running any electrical tests.
In many cases, a failed armature causes secondary stator damage through overheating. If you find both components damaged, replace both to avoid a repeat failure shortly after repair.
When To Repair Versus When To Replace The Entire Grinder
Sometimes fixing the stator does not make financial sense. Here is a simple decision framework to help you choose the right path.
Repair makes sense when the grinder is a high quality brand with a strong motor, good gears, and a comfortable design. If the tool costs over $100 new and the stator replacement costs $20 to $40, repair is the clear winner. Professional grade grinders from major manufacturers are built to last and deserve a stator repair.
Replacement makes more sense when the grinder is a budget model that costs $30 to $50 new. If an OEM stator costs $15 to $25 plus your time, and the grinder has other signs of wear like loose gears, cracked housing, or corroded switches, buying a new tool is more practical.
Consider the age and overall condition of the grinder. A five year old professional grinder with only a stator problem is worth repairing. A ten year old budget grinder with worn gears, a cracked guard, and a bad stator should be retired.
Factor in your time. Disassembly, testing, ordering parts, and reassembly can take several hours spread over days while you wait for parts. If you rely on the grinder daily for work, having a backup tool or buying a new one may reduce costly downtime.
Think about safety above all else. If the grinder shows signs of multiple electrical failures, frame cracks, or compromised insulation in several areas, replacing it is the safer choice. No repair savings are worth the risk of electrical shock or fire.
Safety Precautions Throughout The Repair Process
Working on electrical power tools carries real risks. Follow these critical safety measures at every stage of diagnosis and repair.
Always unplug the grinder before any work. This rule has zero exceptions. Even if you are just removing the disc guard, disconnect the power cord first. Develop this as an automatic habit every time you pick up a screwdriver near a power tool.
Wear insulated gloves when testing with the multimeter if you need to briefly power on the tool for voltage measurements. Standard rubber gloves rated for electrical work provide adequate protection against the voltages present in a corded angle grinder.
Work in a dry, well lit area. Moisture increases the risk of electrical shock, and poor lighting leads to mistakes during reassembly. A clean workbench with good overhead lighting is ideal.
Do not bypass safety features during testing. If the grinder has a ground wire (three prong plug), make sure it is properly connected after reassembly. The ground wire protects you from shock if the stator insulation fails again.
Test the grinder on a GFI protected outlet after repair. A GFI (ground fault interrupter) outlet will trip instantly if any current leaks to the grinder’s body, providing an essential safety net during your initial test runs.
If you are unsure about any step, stop and consult a professional. Incorrectly repaired power tools can cause electrical fires, severe burns, and electrocution. There is no shame in taking the grinder to a qualified repair technician if the job exceeds your comfort level.
Frequently Asked Questions
How much does it cost to replace a stator in a corded angle grinder?
An OEM replacement stator typically costs between $15 and $50, depending on the brand and model. Professional installation at a repair shop adds another $20 to $40 in labor. Professional rewinding ranges from $30 to $80. DIY rewinding costs under $10 in materials but requires several hours of skilled work. Compare these costs against the price of a new grinder to determine the best value for your situation.
Can I use my angle grinder with a partially damaged stator?
No, you should not. A partially damaged stator draws excess current, generates dangerous heat, and can leak electricity to the metal housing. Continued use risks electrical shock, tool fire, and further damage to the armature and other components. If you suspect stator damage, stop using the grinder and diagnose the problem before any further operation.
How long does a stator last in a corded angle grinder?
A stator in a well maintained angle grinder can last 5 to 10 years or more under normal use conditions. The lifespan depends on usage intensity, maintenance habits, and operating environment. Grinders used daily in professional settings may need stator service sooner, while occasional home use grinders often outlast the rest of the tool.
What is the difference between a stator and an armature?
The stator is the stationary part of the motor that stays fixed in the housing and produces a magnetic field through its windings. The armature (also called the rotor) is the rotating part that spins inside the stator. Both components have copper windings, but they serve different functions. The stator creates the field, and the armature converts that field into rotational motion.
Can I rewind a stator myself without experience?
It is possible but not recommended for beginners. Stator rewinding requires precise wire counting, correct gauge selection, proper winding technique, and quality insulation application. An incorrectly wound stator can short circuit, overheat, or create a fire hazard. If you want to learn, practice on a junked motor first before attempting a repair on a tool you plan to use.
How do I know if the problem is the stator or the carbon brushes?
Carbon brush problems are much simpler to identify. Remove the brushes and inspect them. If they are shorter than 5mm or show uneven wear, replace them first. Brush problems cause intermittent power and sparking at the commutator area. Stator problems cause constant poor performance, excessive motor housing heat, burning smells, and abnormal multimeter readings. Always check brushes before testing the stator since they are cheaper and easier to replace.