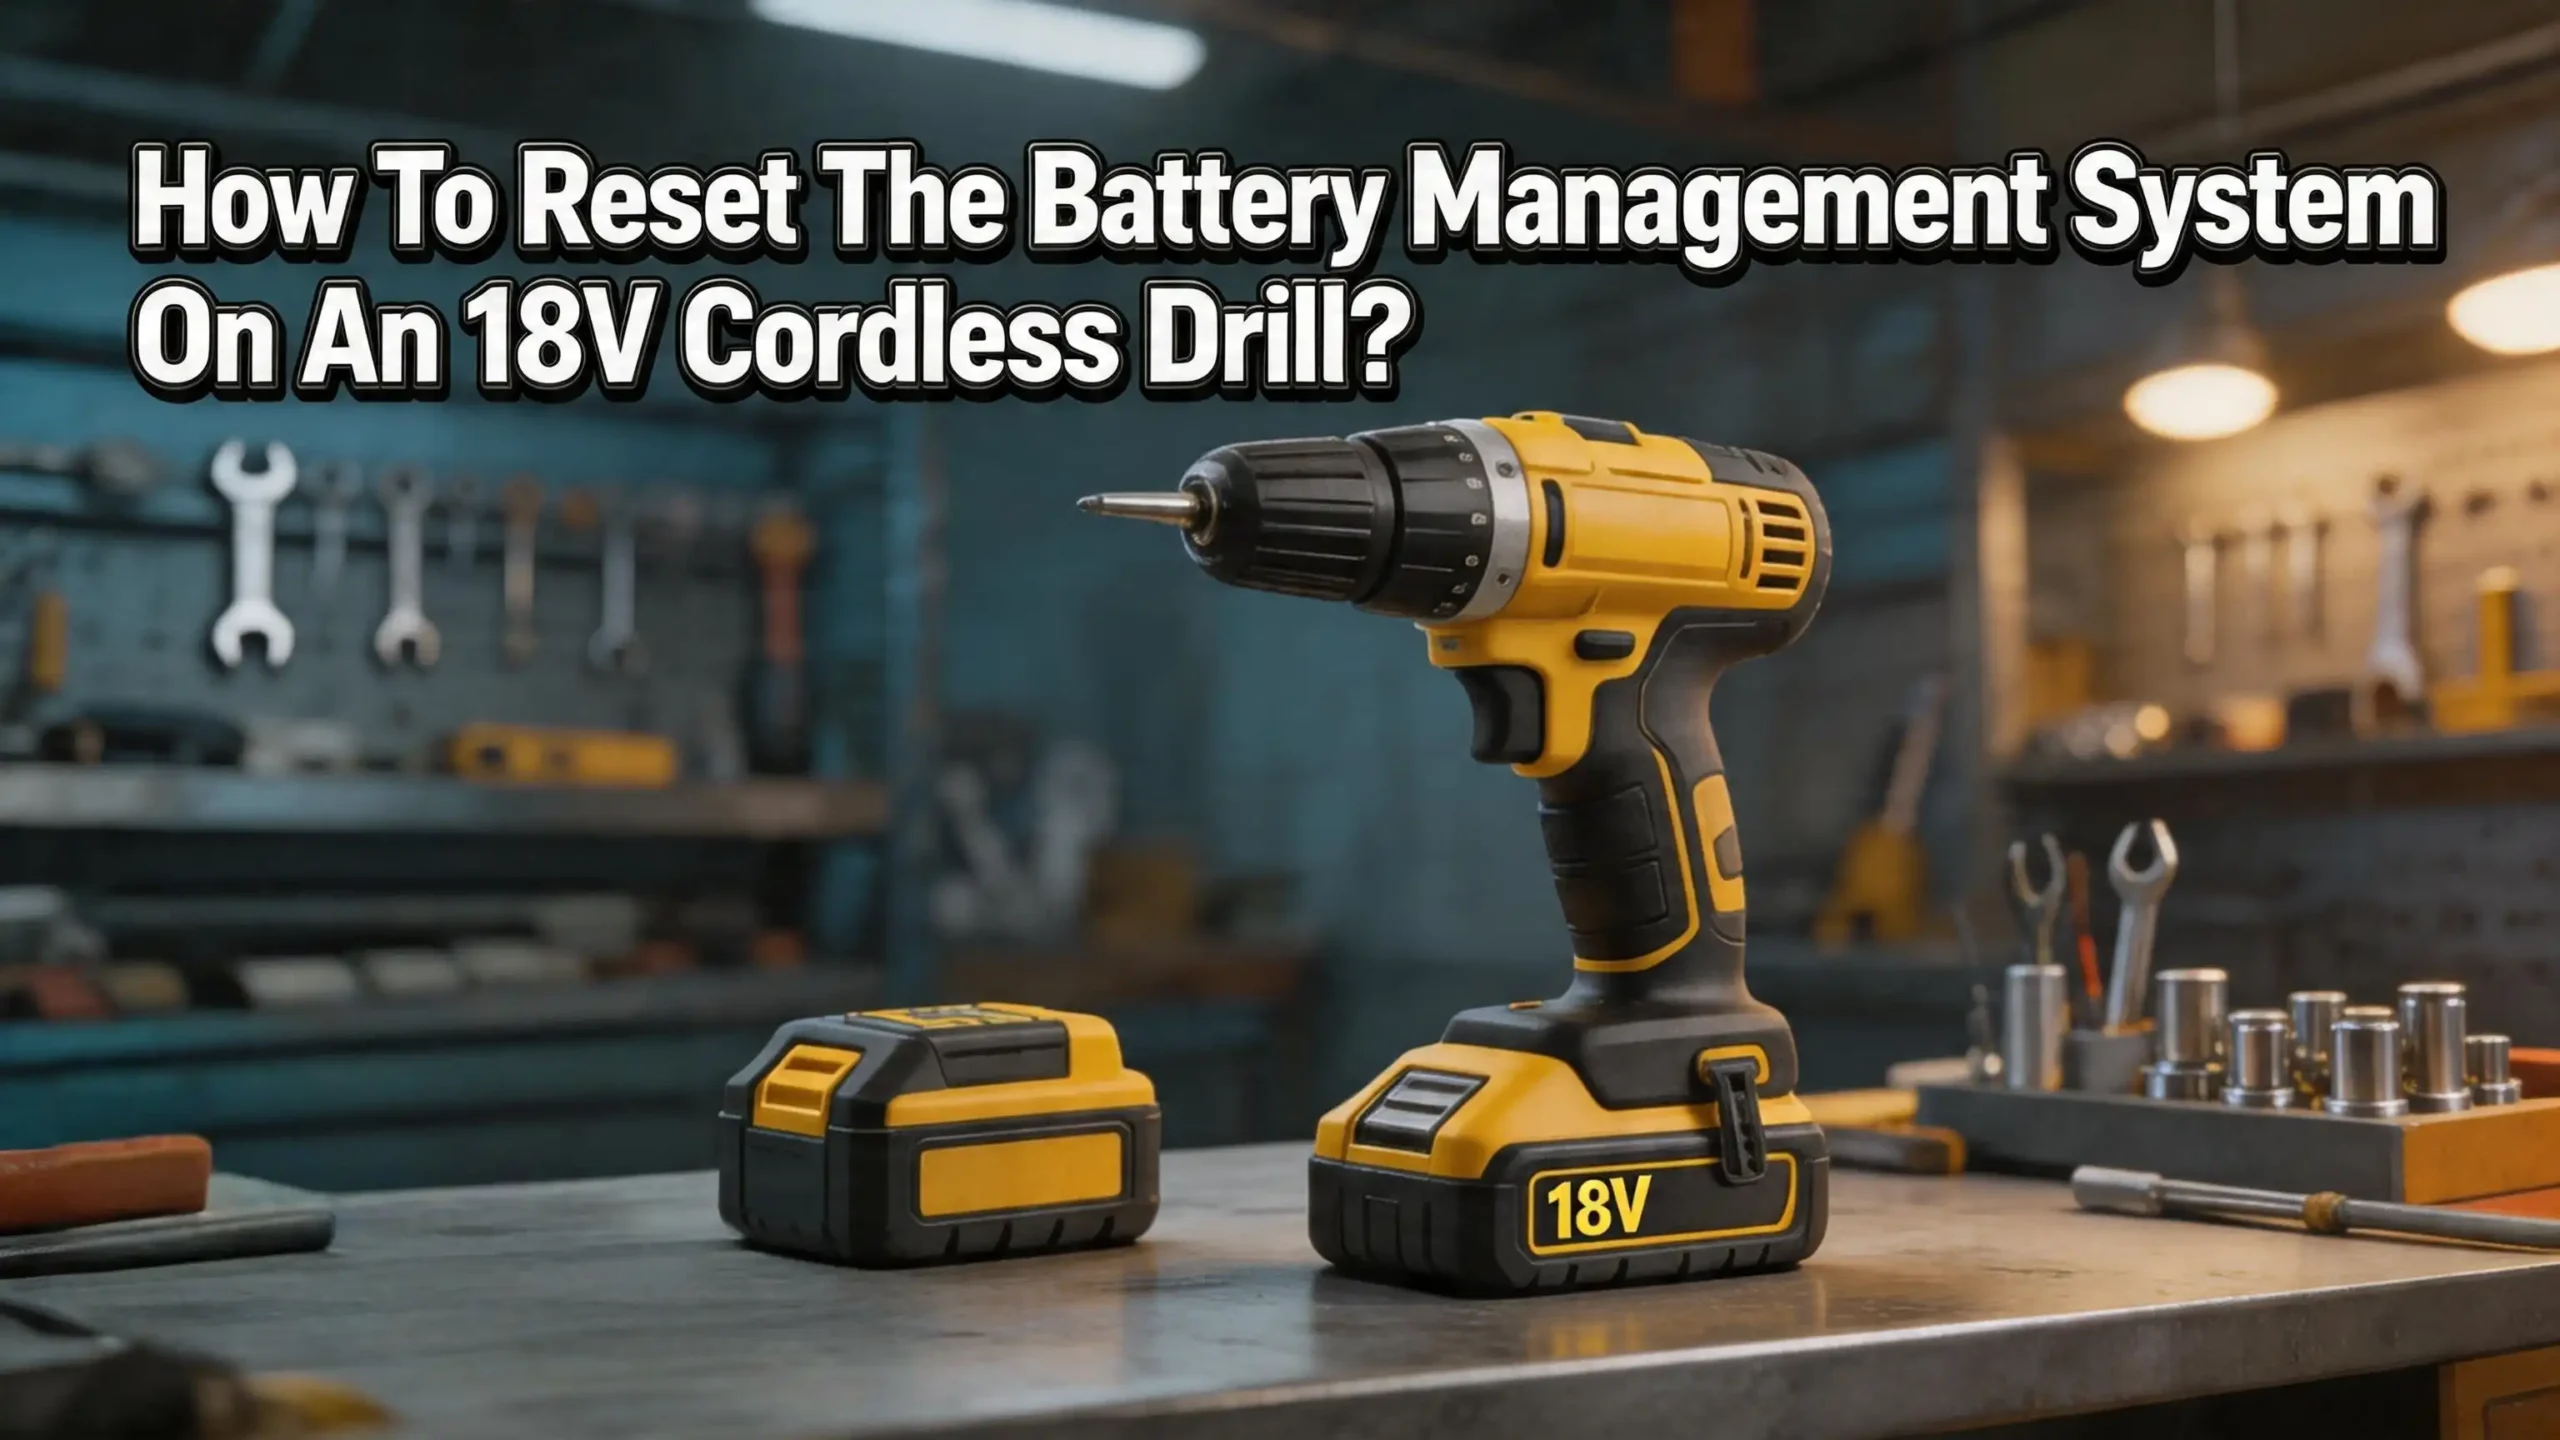
How To Reset The Battery Management System On An 18V Cordless Drill?
You pulled your 18V cordless drill off the shelf, slid the battery in, and pulled the trigger. Nothing happened. The charger blinks, the battery sits lifeless, and you start wondering if you need to buy a brand new battery pack.
The BMS is a small circuit board inside every lithium ion battery pack. It monitors voltage, temperature, and current flow. Sometimes this system locks up, gives faulty readings, or enters a protective shutdown even though the battery cells are still perfectly fine. A quick reset can bring your battery back to full working condition in minutes.
This guide walks you through every practical method to reset the BMS on your 18V cordless drill battery. You will learn what causes the BMS to lock up, how to perform soft and hard resets, and when it is time to accept that the battery needs replacement.
In A Nutshell
- The BMS protects your battery cells from damage. It monitors voltage, current, and temperature inside the battery pack. If any reading falls outside the safe range, the BMS shuts down power output or charging to prevent harm.
- Several simple methods can reset the BMS. These include the charger wake up method, the battery jump start method, the pulse charging technique, and the manual board level reset. Each method targets a different type of BMS lockout.
- Safety must come first during any reset attempt. Lithium ion batteries carry serious risks including fire, chemical burns, and electrical shock. Always wear protective gloves and safety glasses, and work in a well ventilated area away from flammable materials.
- Not every dead battery can be saved with a reset. If individual cells inside the pack have dropped below 2.0V per cell or show physical damage such as swelling, leaking, or corrosion, the battery needs replacement rather than a reset.
- You do not always need to open the battery casing. Several effective reset methods work from the outside using only the charger and the battery terminals. Opening the casing should be a last resort after simpler methods have failed.
- Regular maintenance prevents BMS lockouts. Storing batteries at a partial charge (around 40% to 60%), keeping them in a cool dry location, and charging them every few months during storage can prevent deep discharge and BMS shutdowns.
What Is A Battery Management System In A Cordless Drill
The Battery Management System is an electronic circuit board built into every modern lithium ion battery pack. Its primary job is to keep the battery cells operating within safe limits. The BMS continuously reads the voltage of each cell, monitors the temperature of the pack, and measures how much current flows in and out.
An 18V cordless drill battery typically contains five lithium ion cells connected in series. Each cell has a nominal voltage of 3.6V, and the BMS watches all five independently. If one cell charges faster than the others, the BMS performs cell balancing to equalize the voltage levels across the pack.
The BMS also communicates with the charger. It tells the charger when to start, when to reduce current, and when to stop. This two way communication ensures the battery charges at the correct rate without overheating. Without the BMS, the charger would have no way to know the condition of the cells inside.
Modern drill batteries from brands like Milwaukee, DeWalt, and Makita include advanced BMS chips that record error codes, track charge cycles, and store performance data. This data helps the system make smarter decisions about power delivery and charging speeds over the life of the battery.
Why Does The BMS Enter Protection Mode
The BMS enters protection mode to prevent damage to the battery cells. This is a safety feature, not a malfunction. Understanding the triggers helps you choose the right reset method for your situation.
Over discharge is the most common trigger. If you drain your drill battery completely and then leave it sitting for weeks or months, the cells continue to lose small amounts of charge through self discharge. The voltage drops below the minimum safe threshold, and the BMS shuts everything down. The charger then refuses to charge the battery because the BMS will not communicate with it.
Overcurrent is another trigger. If you stall the drill under heavy load or use an undersized battery for a demanding task, the current draw can spike beyond the BMS safety limit. The system cuts power instantly to prevent the cells from overheating.
Temperature extremes also activate protection mode. Using the drill in very hot conditions or charging the battery in freezing temperatures can trigger a thermal shutdown. The BMS reads the temperature sensor and locks out operation until conditions return to a safe range.
Cell imbalance can cause repeated BMS lockouts over time. If one cell in the pack degrades faster than the others, the BMS detects the voltage difference and may shut down to prevent the weak cell from being over discharged. This situation often signals that the battery is reaching the end of its usable life.
Signs That Your Drill Battery Needs A BMS Reset
Before you start the reset process, you need to confirm that a BMS lockout is actually the problem. Several clear signs point to a BMS issue rather than a dead cell or a broken charger.
The battery shows no lights when you press the fuel gauge button. Most 18V batteries have an LED indicator that displays the remaining charge. If pressing this button produces zero response, the BMS may have cut off all circuits. A fully dead cell pack would typically still show one blinking LED.
The charger blinks a fault pattern when you insert the battery. Different charger brands use different blink codes. A rapidly blinking red light on a Ryobi charger, alternating red and green on a Milwaukee charger, or a steady red on a Makita charger all suggest the BMS is preventing the charger from starting a normal charge cycle.
The drill cuts out suddenly during use and will not restart. This happens when the BMS detects an overcurrent event or a cell voltage drop during heavy load. Removing the battery and reinserting it does not fix the problem because the BMS has latched into protection mode.
The battery was sitting unused for a long time. If you stored the battery for several months without charging it, deep discharge is very likely. The BMS has locked out to protect the cells from further voltage drop. This is the most common scenario and the easiest to fix.
If you notice swelling, leaking fluid, a burnt smell, or physical damage to the battery casing, do not attempt a reset. Dispose of the battery safely at a recycling center.
Essential Safety Precautions Before Resetting
Working with lithium ion batteries requires careful attention to safety. These batteries store significant energy and can cause serious harm if mishandled. Follow these precautions before you attempt any reset method.
Wear safety glasses and insulated gloves throughout the entire process. Lithium ion cells can vent hot gases or catch fire if shorted accidentally. Protecting your eyes and hands is essential. Choose rubber or nitrile gloves that provide electrical insulation.
Work in a well ventilated area away from carpets, fabrics, and other flammable materials. If a cell vents during the process, the gases need a clear path to dissipate. A concrete garage floor or an outdoor workspace is ideal.
Keep a Class D fire extinguisher or a bucket of dry sand nearby. Standard water based fire extinguishers are not effective against lithium battery fires. Sand can smother the flames and contain a thermal runaway event.
Remove all metal jewelry including rings, watches, and bracelets before handling open battery packs. A metal ring bridging two terminals can create a short circuit that produces extreme heat in a fraction of a second.
Use insulated tools if you need to open the battery casing. A standard metal screwdriver can accidentally short adjacent terminals on the circuit board. Plastic pry tools and insulated screwdrivers reduce this risk significantly.
Never leave a battery unattended while it is connected to a charger or another battery during the reset process. Monitor the temperature of the pack by touching the casing periodically. If it becomes too hot to hold comfortably, disconnect everything immediately and move the battery to a safe location.
Method 1: The Charger Wake Up Reset
This is the simplest and safest method to reset a BMS that has entered under voltage protection mode. It requires nothing more than your standard 18V charger and a bit of patience.
Step 1: Insert the battery into the charger. The charger may blink a fault code or show no response at all. Leave the battery seated in the charger for 30 seconds, then remove it.
Step 2: Wait 10 seconds with the battery out of the charger. Then reinsert the battery. Repeat this insert and remove cycle 10 to 15 times. Each brief connection sends a small pulse of current into the battery pack. These pulses can nudge the cell voltages just high enough for the BMS to wake up and allow normal charging.
Step 3: After several cycles, leave the battery in the charger and watch for a change in the indicator lights. If the charger switches from a fault blink to a normal charging pattern, the BMS has accepted the charge. Allow the battery to charge fully without interruption.
Pros of this method: It is completely safe, requires no tools, and preserves your battery warranty. You do not need to open the casing or touch any internal components. It works well for batteries that have been sitting in storage for a few months.
Cons of this method: It does not work if the cell voltages have dropped extremely low (below 1.5V per cell). It also may not work on chargers with aggressive BMS lockout detection that refuse to send any current to a flagged battery.
Method 2: The Battery Jump Start Reset
This method uses a second fully charged 18V battery from the same brand to jump start the dead battery. The small current transfer raises the dead battery’s voltage enough for the BMS to unlock.
Step 1: Get a fully charged 18V battery of the same voltage and brand. You need two short pieces of insulated wire with exposed ends, or a pair of alligator clip cables.
Step 2: Identify the positive and negative terminals on both batteries. These are typically the two outermost metal contacts. The middle contacts are data and temperature pins and should not be touched.
Step 3: Connect the positive terminal of the charged battery to the positive terminal of the dead battery. Then connect the negative to negative. Hold the connections steady for 15 to 30 seconds. This brief connection transfers a small amount of charge from the good battery to the dead one.
Step 4: Disconnect the wires and immediately place the previously dead battery into the charger. If the BMS has unlocked, the charger should begin a normal charge cycle.
Pros of this method: It is effective for deeply discharged batteries that the charger alone cannot wake up. It works quickly and does not require opening the battery casing.
Cons of this method: It carries a higher risk of accidental short circuits if the wires touch each other or the wrong terminals. It also requires a second compatible battery. Using batteries from different brands or voltage ratings can damage both packs.
Method 3: The Pulse Charging Technique
Pulse charging uses a low voltage DC power source to send brief bursts of current directly into the battery terminals. This method is more advanced and requires basic electrical knowledge.
Step 1: Obtain a DC power supply or a simple 12V battery charger. The source voltage must be lower than the nominal voltage of the 18V pack. A 12V source works well because it is high enough to push current into the cells but low enough to avoid damage.
Step 2: Connect the positive lead of the power source to the positive terminal of the dead battery. Connect the negative to negative.
Step 3: Touch the leads to the terminals for 2 to 3 seconds at a time, then disconnect. Repeat this 10 to 20 times. Check the battery voltage with a multimeter after every few pulses. You want to raise the pack voltage to at least 15V, which is the minimum most chargers need to recognize the battery.
Step 4: Once the battery voltage reaches 15V or higher, place it into the standard charger. The BMS should now allow normal charging to proceed.
Pros of this method: It can revive batteries that are too deeply discharged for the charger wake up or jump start methods. It gives you precise control over how much energy enters the pack.
Cons of this method: It requires a multimeter and a separate DC power source. There is a real risk of overcharging individual cells if you apply current for too long. This method can also void your battery warranty and should only be used as a last resort.
Method 4: The Manual Board Level Reset
Some BMS circuit boards have a physical reset mechanism. This method requires opening the battery casing and directly interacting with the BMS board. Only attempt this if you are comfortable working with electronics.
Step 1: Remove the screws from the battery casing using a Torx or tri wing screwdriver. Many brands use T10 or T15 Torx security screws. Gently separate the two halves of the casing.
Step 2: Locate the BMS circuit board. It is a green or blue board sitting on top of the battery cells, connected to the terminals and cell groups by thin wires.
Step 3: Look for a small reset button on the board. Some BMS designs include a tiny tactile button that you can press with a paperclip or small tool. Press and hold it for 5 to 10 seconds. If the board has no reset button, look for two small pads or pins labeled “RST” or “RESET” that you can briefly bridge with a paperclip.
Step 4: Reassemble the battery casing, insert it into the charger, and check if the BMS now accepts a charge.
Pros of this method: It directly addresses the BMS lockout at the hardware level. It can clear persistent error codes that software level resets cannot fix.
Cons of this method: It voids your warranty immediately. It carries a significant risk of short circuits, cell damage, or personal injury if you accidentally bridge the wrong contacts. It also requires specific tools to open the casing.
How To Check Individual Cell Voltages
If none of the external reset methods work, checking individual cell voltages tells you whether the cells themselves are still viable. A BMS reset can only work if the cells have enough charge to accept current.
You need a digital multimeter set to DC voltage mode. Open the battery casing following the steps described in the board level reset section. Identify each cell group. An 18V pack has five cell groups in series, each containing one or more cells in parallel.
Measure the voltage across each cell group. A healthy lithium ion cell at rest should read between 3.0V and 4.2V. Cells at 2.5V to 3.0V are deeply discharged but usually recoverable. Cells below 2.0V have likely suffered permanent damage and may not safely hold a charge.
Write down every reading. If all five cell groups show similar voltages in the 2.5V to 3.6V range, the pack is a good candidate for a BMS reset. If one cell group reads significantly lower than the others, that group contains a degraded cell that is pulling the whole pack down.
A large voltage difference between cell groups (more than 0.5V) indicates a serious imbalance. The BMS may be locking out specifically because of this imbalance. In this case, you can try charging each cell group individually with a single cell lithium charger to bring them all to the same voltage before attempting the BMS reset again.
Brand Specific Reset Tips
Different drill brands use slightly different BMS designs. Here are some helpful details for the most popular 18V cordless drill platforms.
Ryobi 18V ONE+ batteries are among the easiest to reset. The charger wake up method works on most Ryobi packs. Insert the battery, wait for the green light to blink, remove it, and repeat. Ryobi chargers are relatively forgiving and will often accept a battery after 10 to 15 cycles of this process.
DeWalt 20V MAX batteries (which are actually 18V nominal) have a more advanced BMS. DeWalt chargers communicate with the battery through a data pin, and the BMS stores error logs. The jump start method using a second DeWalt battery often works best for this platform. Connect the outer terminals only and hold for 15 seconds.
Milwaukee M18 batteries use a sophisticated fuel gauge chip that records detailed usage data. Milwaukee’s BMS is known for being strict about protection lockouts. The pulse charging technique is often necessary for deeply discharged Milwaukee packs because the charger will not attempt to charge a battery below a certain voltage threshold.
Makita 18V LXT batteries have a BMS that responds well to the charger wake up method. Makita also offers a battery reset tool that connects to the data terminals and clears error codes stored on the BMS chip. Community developed open source tools have also emerged for this purpose.
Bosch 18V batteries can sometimes be reset by connecting the positive terminal of a healthy Bosch battery to the dead battery for 15 seconds, then placing it on the charger immediately.
Common Mistakes To Avoid During A BMS Reset
Several mistakes can turn a simple BMS reset into an expensive or dangerous situation. Knowing what to avoid is just as important as knowing the correct steps.
Do not use a car battery or high amperage power source to jump start a drill battery. A car battery can deliver hundreds of amps instantly. This kind of current will destroy the BMS, damage the cells, and can cause a fire. Always use a low current source like another drill battery or a small DC power supply.
Do not leave the battery connected to a jump source for more than 30 seconds. Extended connection times can overcharge cells unevenly and create a dangerous imbalance. Short, controlled bursts are the correct approach.
Do not attempt to bypass the BMS entirely. Some online guides suggest connecting the charger directly to the cell terminals while bypassing the BMS board. This removes all safety protection and can lead to overcharging, thermal runaway, and fire. The BMS exists for a critical safety reason.
Do not force a swollen battery to charge. A swollen battery casing means the cells inside have produced gas due to internal damage. This battery is a fire hazard and must be disposed of properly at a battery recycling facility.
Do not mix and match batteries from different brands for the jump start method. Even if two batteries are both labeled 18V, their actual voltage, cell configuration, and data pin layout can differ. Using the wrong battery can send current through data pins and destroy the BMS chip permanently.
When To Replace The Battery Instead Of Resetting
A BMS reset is not a universal fix. Some batteries have reached the end of their useful life, and a reset will only provide a temporary or false solution. Knowing the difference saves you time and keeps you safe.
Replace the battery if individual cells read below 2.0V. Cells that have been deeply discharged below this threshold often develop internal crystal structures called dendrites. These dendrites can create internal short circuits, making the cell unpredictable and potentially dangerous even after recharging.
Replace the battery if it has been through more than 500 to 800 full charge cycles. Lithium ion cells lose capacity over time. After hundreds of cycles, the cells can no longer hold enough energy to power the drill effectively. A BMS reset will not restore lost cell capacity.
Replace the battery if it charges fully but dies within seconds of use. This indicates that one or more cells have failed internally. The BMS may show a full charge, but the actual usable energy is almost zero. The cells themselves are the problem, not the BMS.
Replace the battery if the casing is cracked, swollen, or leaking. Physical damage compromises the safety of the entire pack. No reset can fix mechanical damage to the cells or casing.
Replace the battery if the BMS board itself is visibly damaged. Burn marks, melted components, or corroded traces on the BMS board mean the protection circuit can no longer function reliably. Using a battery with a damaged BMS is extremely risky.
How To Prevent BMS Lockouts In The Future
Prevention is always easier than repair. A few simple habits will keep your 18V drill batteries healthy and prevent the BMS from entering protection mode.
Store batteries at a partial charge. Lithium ion batteries are happiest at 40% to 60% charge during long term storage. A fully charged battery sitting for months can degrade faster, and a fully depleted battery risks dropping into the BMS lockout zone. Check stored batteries every two to three months and top them up if needed.
Keep batteries in a cool, dry place. Heat accelerates chemical degradation inside lithium ion cells. Store your batteries at room temperature, away from direct sunlight, heaters, and damp areas. Extreme cold is also harmful because it slows chemical reactions and can cause the BMS to read false temperature errors.
Remove the battery from the charger once it is fully charged. Leaving a battery on the charger indefinitely can stress the cells and the BMS. Most modern chargers switch to a trickle or maintenance mode, but removing the battery is still the best practice.
Avoid draining the battery completely during use. When you feel the drill slowing down or losing power, stop and swap to a fresh battery. Running the drill until it cuts out pushes the cells closer to the BMS under voltage threshold.
Use the correct charger for your battery. Third party chargers may not communicate properly with the BMS, leading to incorrect charge rates or failed charge attempts. Stick with the charger designed for your specific battery platform.
Tools You Need For A Successful BMS Reset
Having the right tools on hand makes the process faster and safer. Most of these items are inexpensive and useful for general battery maintenance.
A digital multimeter is the most important tool. It lets you measure the overall pack voltage and individual cell voltages. Choose a meter that reads DC voltage with accuracy to at least one decimal place. Set it to the 20V DC range for 18V battery packs.
Insulated alligator clip cables make the jump start method much safer. They provide a secure connection to the battery terminals without requiring you to hold bare wires against metal contacts. Two cables, one red and one black, are all you need.
A Torx screwdriver set is essential if you need to open the battery casing. Most major drill brands use T10 or T15 Torx security screws. A set with a hole in the center of the bit accommodates the security pin found in many battery casings.
Plastic pry tools help separate battery casing halves without scratching or cracking the plastic. They also reduce the risk of accidental short circuits compared to metal tools.
Safety glasses and insulated gloves are non negotiable. Keep these accessible before you begin any work on the battery.
A notebook or your phone is helpful for recording cell voltages and charger behavior during the reset process. These notes can help you diagnose problems if the first reset attempt does not succeed.
Frequently Asked Questions
Can I Reset The BMS Without Opening The Battery Casing?
Yes, several methods work without opening the casing. The charger wake up method, the battery jump start method, and the pulse charging technique all reset the BMS through the external battery terminals. Opening the casing is only necessary for a manual board level reset or to check individual cell voltages. Start with the external methods first and only open the casing as a last resort.
How Long Does A BMS Reset Take?
The time depends on the method you choose. The charger wake up method can take 5 to 15 minutes of repeated insert and remove cycles. The jump start method takes about 30 seconds of connection time plus the subsequent full charge. A complete cycle including a full recharge typically takes 1 to 3 hours depending on the battery capacity and charger speed.
Will Resetting The BMS Void My Battery Warranty?
External reset methods like the charger wake up and jump start methods do not void your warranty because they do not involve opening the casing or modifying any components. However, opening the battery casing, using third party power sources, or physically manipulating the BMS board will almost certainly void the manufacturer warranty. Check your warranty terms before proceeding with internal methods.
Why Does My Drill Battery Keep Entering Protection Mode?
Repeated BMS lockouts usually indicate an underlying problem. The most common cause is a weak or degraded cell in the pack that drops voltage faster than the others. Cell imbalance forces the BMS to shut down repeatedly to protect the weak cell. Other causes include a faulty temperature sensor on the BMS, a damaged charger that provides inconsistent current, or habitual deep discharging of the battery during use.
Is It Safe To Use A Battery After A BMS Reset?
A properly reset battery is safe to use as long as the cells are in good condition. After the reset, charge the battery fully and then use it normally. Monitor its performance over the next few charge cycles. If the battery holds a charge and delivers consistent power, it is functioning correctly. If it dies quickly, overheats, or re enters protection mode, the cells may be damaged and the battery should be replaced.
Can I Use A Phone Charger To Pulse Charge My Drill Battery?
A standard 5V phone charger does not provide enough voltage to push current into an 18V battery pack. You would need a DC source of at least 12V to effectively raise the cell voltages. A 12V DC power supply or a 12V sealed lead acid battery charger works for this purpose. Never use a power source with a voltage higher than the nominal battery voltage (18V) because it can overcharge the cells and cause serious damage.